
Introduction
A few weeks ago we setup a cool VPS with WordPress, Traefik, etc. in an automated way. The only downside was that is could not be managed with the same code (only setup once), as explained in the post.
Today we’re setting up a complete, automated WordPress hosting solution using OpenTofu, cloud-init and Ansible; deploying a secure, fast WordPress site to Hetzner Cloud in minutes with TLS, caching, and security hardening out of the box. Fully automated and manageable.
Find the code here.
Be sure to setup SSH access and Hetzner firewall before running the VPS code.
Deployment overview
This project demonstrates a complete Infrastructure as Code approach using four distinct phases, each with a specific responsibility.
| Phase | Tool | Responsibility | Duration |
|---|---|---|---|
| Infrastructure | OpenTofu | Server, firewall, SSH keys | 2 minutes |
| Bootstrap | Cloud‑init | Users, Python, basic SSH | 1 minute |
| Configuration | Ansible | Security, Docker, apps | 5 minutes |
| Application | setup.sh | DNS validation, containers | 2 minutes |
Total time: ~10 minutes (plus DNS propagation)
Let’s break down what makes this architecture special.
Phase 1: Infrastructure as Code with OpenTofu
The foundation uses OpenTofu (Terraform without the BSL) to provision.
- Hetzner Cloud VPS (Ubuntu 24.04 LTS)
- Firewall rules (ports 22, 80, 443 only)
- SSH key integration (pre‑created keys from separate repos)
- Cloud‑init user‑data for automatic bootstrap
Key insight: SSH keys and firewalls are managed in separate repositories to prevent conflicts. This follows the principle of managing global resources independently.
# terraform.tfvars - single source of truth
hcloud_token   = "your-token"
domain         = "cyberbits.org"
subdomain      = "blog"
admin_username = "henk"
admin_email    = "henk@cyberbits.org"
The tfvars file should never be committed to git (and is therefore in the .gitignore)
Phase 2: Cloud‑init bootstrap
Cloud‑init handles the first‑boot only initialization:
- Creates
deployaccuser (Ansible management) - Creates admin user with SSH key
- Installs Python 3 (required for Ansible)
- Applies minimal SSH hardening
- Sets initial password
Security note. Cloud‑init configures SSH for key‑only authentication before the server is even accessible. Password authentication and root login are disabled immediately.
Phase 3: Ansible configuration
Ansible performs complete system hardening.
SSH security
- Root login disabled
- Password authentication disabled
- Fail2Ban (7 day bans, email alerts)
- Modern ciphers and algorithms
- Client timeout (5 minutes)
- Max 3 concurrent sessions
Firewall and network
- UFW with ‘deny all’ default
- Kernel hardening (SYN cookies, rp_filter, martian logging)
- IPv6 explicitly disabled (reduces attack surface)
Intrusion detection
- Fail2Ban. Active with SSH and HTTPS jail
- Auditd. System call monitoring
- AppArmor. Mandatory access controls (≈120 profiles)
Automatic updates
- Unattended‑upgrades configured
- Security updates automatic
- Email alerts on changes
- Custom sysctl security parameters
Docker environment
- Docker CE with security options
- No‑new‑privileges for all containers
- Read‑only Docker socket mounting
- Isolated networks (public‑facing Traefik + internal WordPress)
Application configs
All WordPress configs are templated with secure defaults:
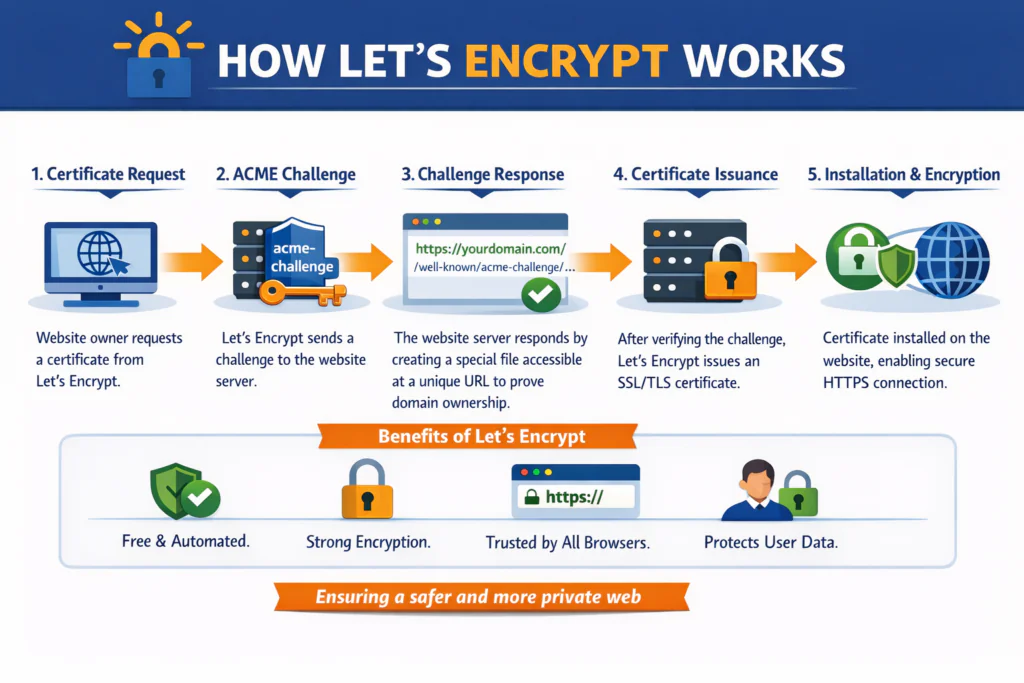
- Traefik reverse proxy (Let’s Encrypt SSL)
- Nginx with security headers
- MariaDB 11 with hardening
- Redis 7 for object caching
- PHP‑FPM with resource limits
Idempotent by design. Run Ansible multiple times safely – it only applies the changes that are needed.
Phase 4: Application startup
The final phase is a setup script that validates before starting:
./setup.shWhy separate? DNS propagation takes 5‑30 minutes. Traefik needs working DNS to obtain SSL certificates from Let’s Encrypt. The script:
- Validates DNS using an external resolver (1.1.1.1)
- Verifies the domain points to this server
- Starts Traefik (SSL certificate acquisition)
- Starts WordPress stack (MariaDB, PHP‑FPM, Nginx, Redis)
- Configures WP‑Cron (disables unreliable built‑in cron)
If DNS isn’t ready, the script exits with helpful instructions. No broken deployments!
Security architecture
This isn’t just WordPress, it’s a defense in depth security stack.
Network layer
- Hetzner Cloud firewall + UFW (double protection)
- Only 3 ports open: 22 (SSH), 80 (HTTP → HTTPS), 443 (HTTPS)
- IPv6 disabled (reduces attack surface)
- Traefik rate limiting (100 req/s)
Transport layer
- TLS 1.2/1.3 only
- HSTS with preload
- Perfect forward secrecy
- Automatic certificate renewal
Application layer
- Security headers (CSP, X‑XSS‑Protection, nosniff, e.g.)
- WordPress file editor disabled
- XML‑RPC blocked
- PHP execution disabled in uploads
- No database exposure (internal network only)
System layer
- Automatic security updates
- Kernel parameter hardening
- AppArmor profiles
- Audit logging
- Fail2Ban active protection
Real world test! Within 15 minutes of going live, the server was attacked by 4 IPs (from Romania and India). Fail2Ban banned them automatically. Zero successful breaches.
Key technical decisions
Couple of considerations.
Why Ansible over pure cloud‑init?
- Cloud‑init runs once at boot
- Ansible provides idempotency, drift detection, modular roles, better error handling
Why Traefik over Nginx for SSL/TLS?
- Automatic Docker‑service discovery
- Let’s Encrypt certificate provisioning & renewal
- Built‑in rate limiting
Why separate the user “deployacc” from admin?
- deployacc: Ansible‑only, password‑less sudo
- admin: Day‑to‑day ops, password + SSH key
- Clear separation of concerns
Why DNS validation in the setup script?
SSL certificates fail without working DNS. Validating up‑front saves endless debugging of a non‑starting Traefik.
Customization
Need to add a package? Edit ansible/roles/common/tasks/main.yaml:
- name: Install essential packages
  apt:
    name:
      - apparmor
      - curl
      - YOUR_PACKAGE_HERE  # Add here
Need a custom sysctl? Edit ansible/roles/security/templates/99-security.conf.j2. Everything is version‑controlled and repeatable.
Monitoring the stack
Couple of commands I ran a lot while writing the code.
# Check security status
security-check

# View Docker containers
dps

# Check fail2ban status
sudo fail2ban-client status sshd

# View Traefik logs
docker logs traefik
Repository structure
Should be self explanatory, but I like to be explicit.
.
├── *.tf                      # OpenTofu infrastructure
├── cloud-init-bootstrap.yaml # Bootstrap configuration
├── ansible/
│   ├── ansible.cfg           # Ansible settings
│   ├── playbook.yaml         # Main playbook
│   ├── inventory/
│   │   └── terraform.py      # Dynamic inventory
│   └── roles/
│       ├── common/           # Base packages, users
│       ├── security/         # Hardening, fail2ban
│       ├── docker/           # Docker installation
│       └── wordpress/        # Traefik + WordPress
└── terraform.tfvars          # Your configuration
Yes there are more files in the repo, but the above might need a bit of extra info.
Summary
- ✅ Security by default. Defense in depth, automatic updates, intrusion detection
- ✅ Reproducibility. Same result every time, version controlled
- ✅ Maintainability. Ansible for drift detection and updates
- ✅ Scalability. Add more servers with the same configuration
- ✅ Observability. Auditd, fail2ban,
security-checkcommand
From zero to production WordPress in ~10 minutes. Not by cutting corners, but by automating best practices.
The code is open source under the MIT License. Use it, modify it, learn from it.
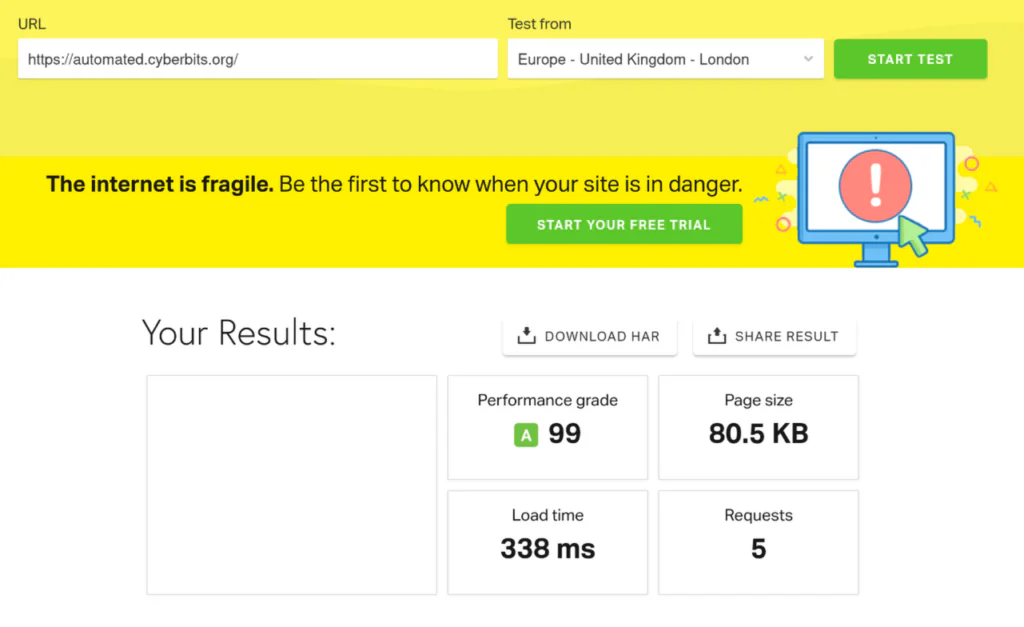
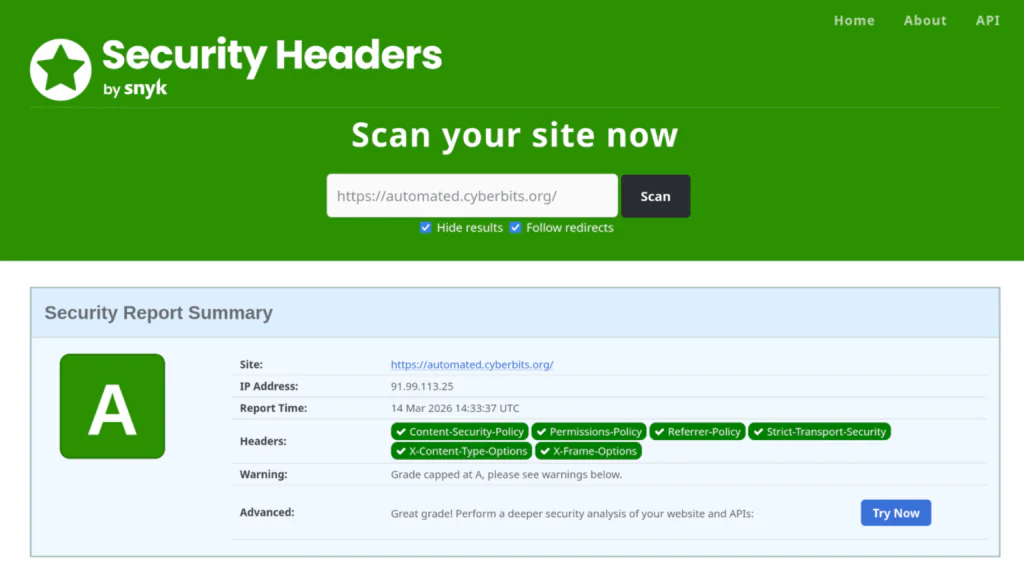
Results
🚀 Speed
🔐 Security
Next
I’ll be wrapping up this single VPS series with a separation of concerns, where I’ll be splitting up the deployment of the VPS and the actual applications. Stay tuned!